

Hello, this is "Narrow Gauge Shop". We are a model railroad shop in Japan. We are currently preparing to sell our products overseas on eBay.
-

Narrow Gauge Shop in Japan, with a passion for handmade products!!
In this article, we will show you the process of making the layout baseboards we sell. (※What we call a "layout baseboard" is a foundation with tracks laid on the framework and the ground roughly molded with styrofoam.)
We don't do diorama building or scenery construction. We specialize in the base-building stage. We make the base framework, lay the rails, and mold the styrofoam.
We have made and sold over 300 layout baseboards. Some of them are available on Youtube and Pinterest, so please check them out.
Youtube:https://www.youtube.com/user/narrowgaugeshop/videos
Pinterest:https://www.pinterest.co.uk/narrowgaugeshop/_created/
・…━… 目次 …━…・‥
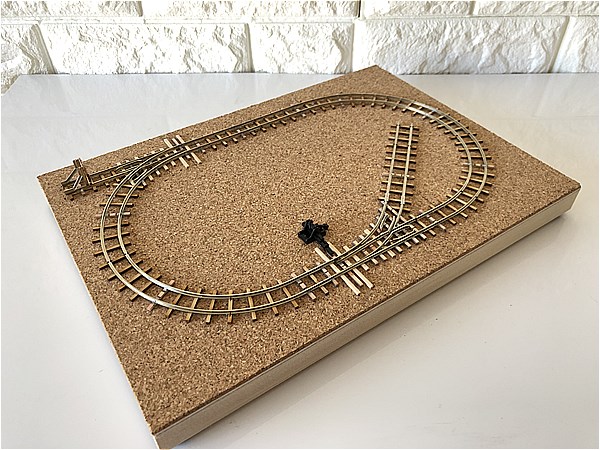
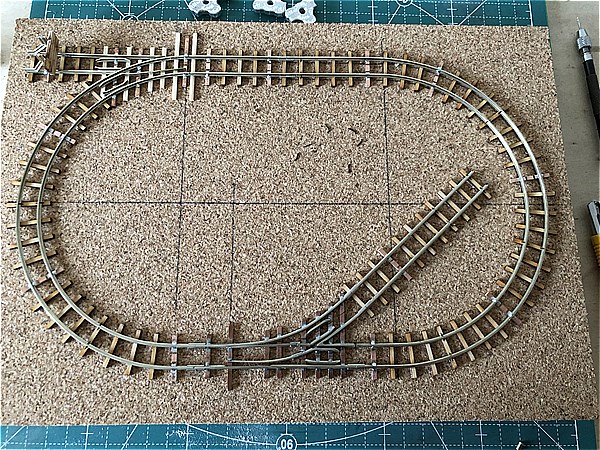
Steps to make a micro layout baseboard for HOe
- Scale / Gauge:HOe (9mm)
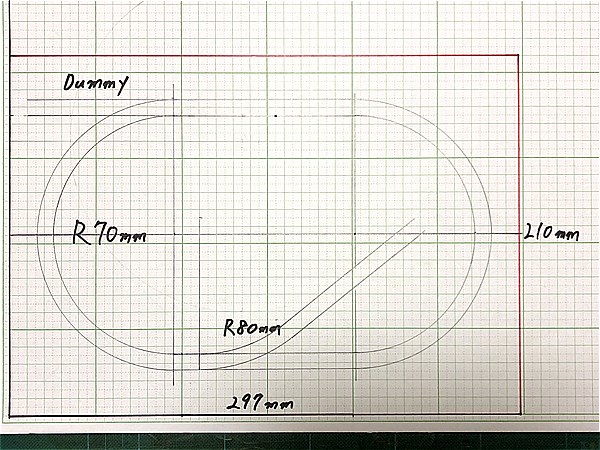
- Size :297mm x 210mm
- Radius :approx. 70mm
- Self-made Turnout :approx. 80mm
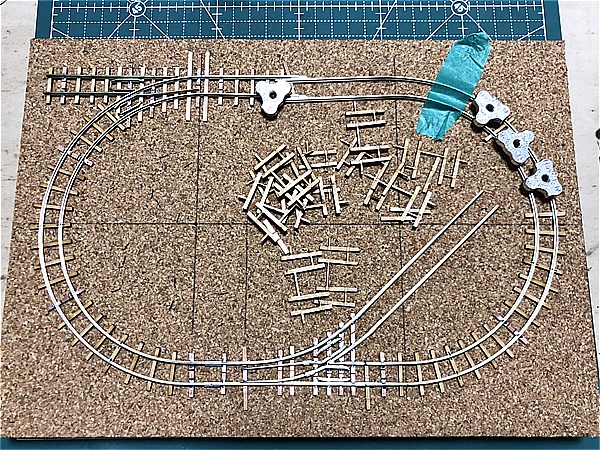
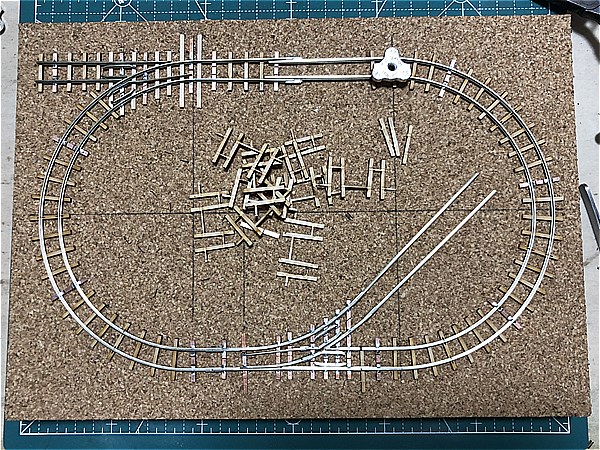
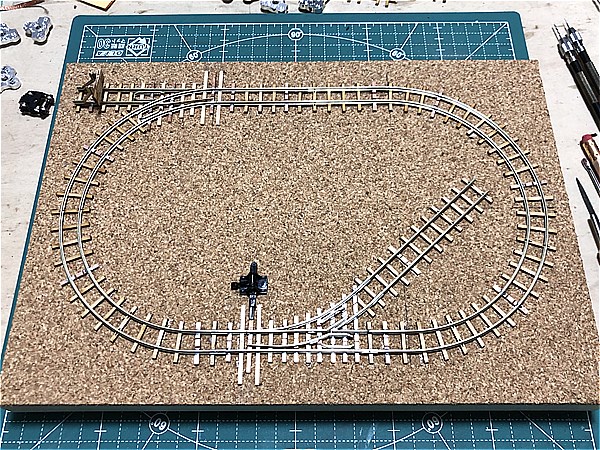
I want to make a small but attractive layout baseboard by setting up a side track with self-made turnout on an A4 size board and installing dummy turnout.
Materials and tools used
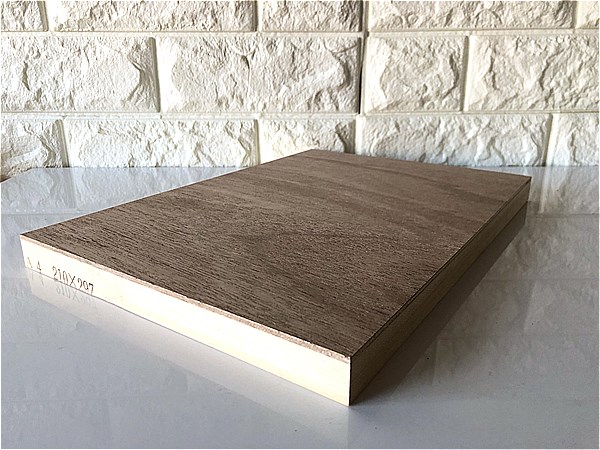
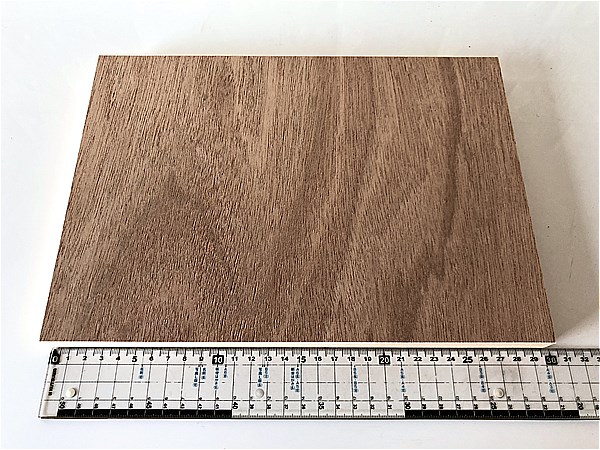
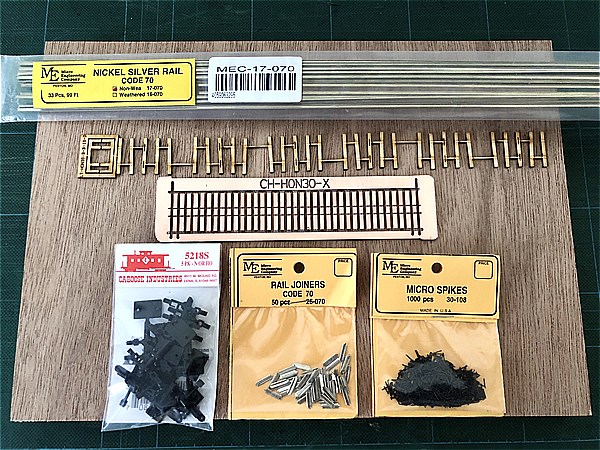
- Base Board:Art material panel (297mmx210mm)
- Tracks:Micro Engineering Code 70 Non-Weathered Rail
- Ties:FastTracks HOn30 Branchline, 10" Flexible QuickSticks Tie Strips / CopperHead HOn30 PC Board Pre-Gapped Crossties - 1/16" (※Some of them used Turnout Ties - 1/16")
- Joiners:Micro Engineering Rail Joiners Code 70
- Spikes:Micro Engineering Micro Spikes
- Fast Tracks Rail Roller
- Track Gauge:Trifecta 3 Point Track Gauge HOn30 Code 70/83
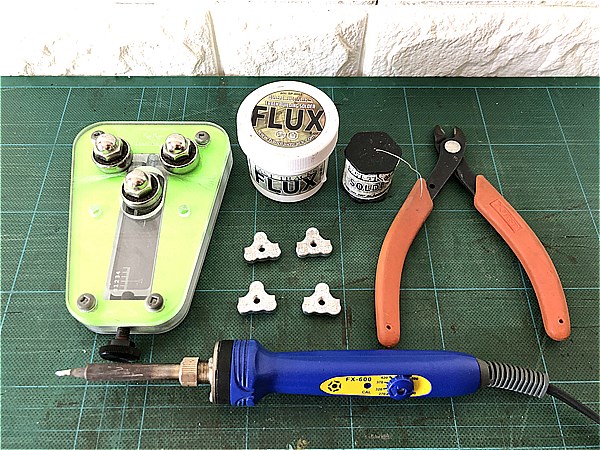
- Soldering iron
- Fast Tracks Small Diameter Solder - 15ft Roll
- Fast Tracks own Track Building Solder Flux
- XURON Track Cutters, For HO 00 N and Z Gauge Rails
Caboose Industries 5218S Sprung, .165" travel for HO and N
How to make a micro layout baseboard
Our making procedure is as follows.
- Decide where to place the turnout.
- Solder the feeder wire to the joiner.
- Bend the tracks with the Rail Roller.
- Glue the sleepers to the base board for each section (1/4 circle each) and fix the tracks.
- Installing the turnout switch.
The following article explains turnout production in detail. It is our confident work that has been read by many people in Japan.
Unfortunately, it is written in Japanese only, but the images and videos are helpful. If requested, we will write an English version as well.
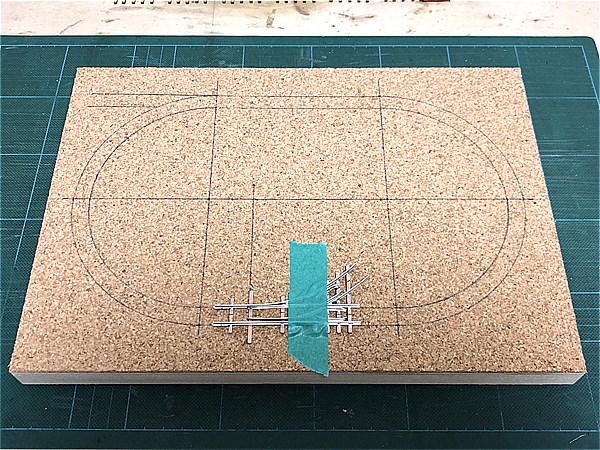
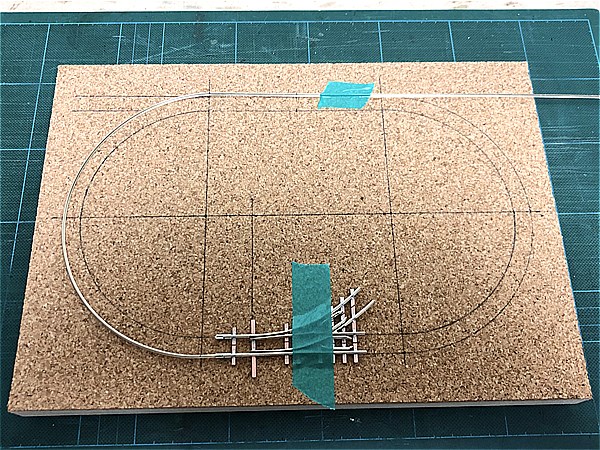
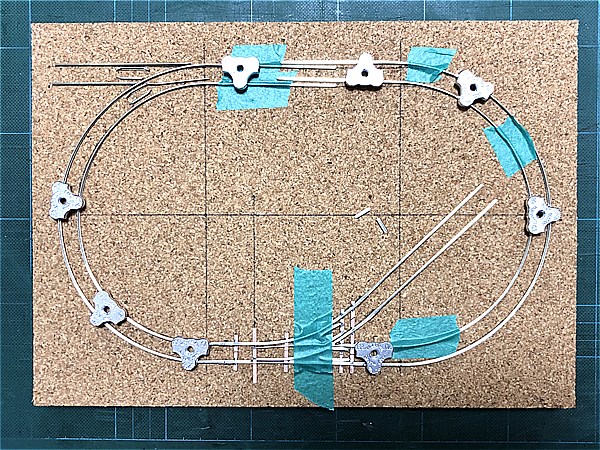
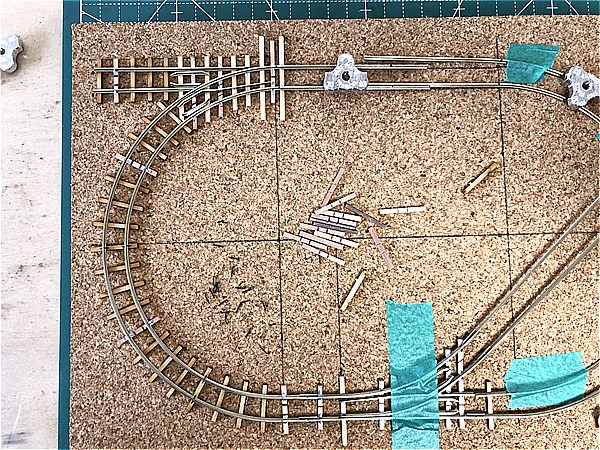
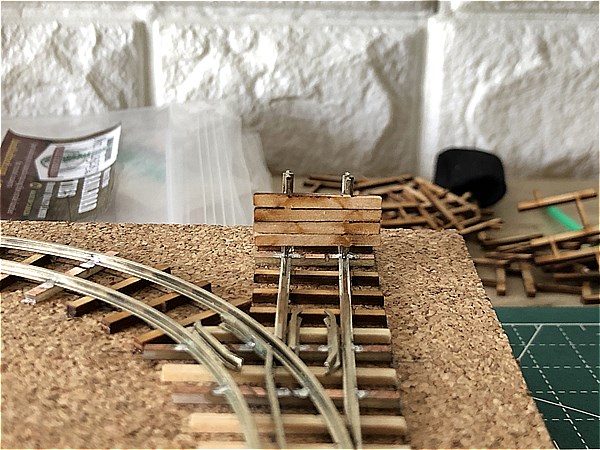
1. Decide where to place the turnout
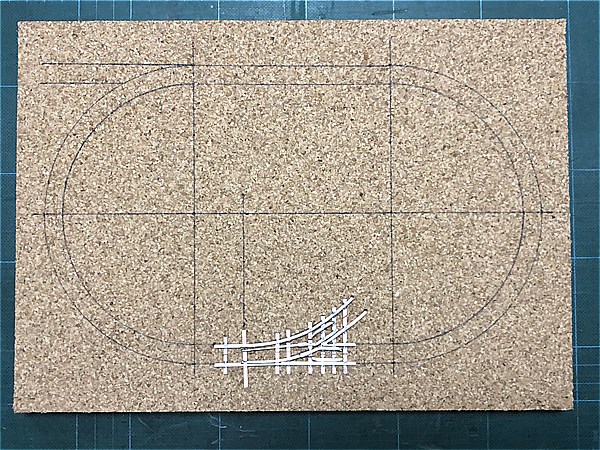

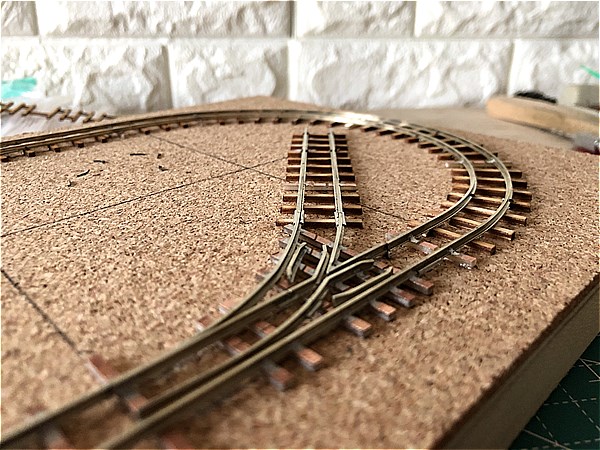
Place the turnouts in the center of the straight sections. Try to connect the tracks in straight sections. It is difficult to connect them in curved sections.
Our turnouts are very precise and well made and are not easily broken. We Japanese craftsmen take pride in our handmade products.
We are especially good at making small radius turnouts that are not available in the market.
【Oナロー/On30(16.5mm)】
On30ポイントレールも安定してきました🌼
動画はプロトタイプなので各所荒いですが、
安定動作でスムーズに走行します。✅普通ポイント仕様
✅各Rで製作予定
✅On30レイアウトボードも準備中ご要望とお問い合わせを参考にして、
あせらずゆっくり製作しています🍀 pic.twitter.com/JvCY64adrr— ナローゲージショップ (@narrowgaugeshop) October 23, 2020
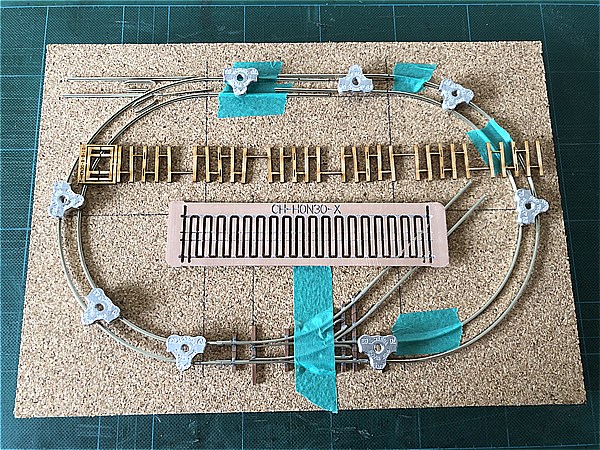
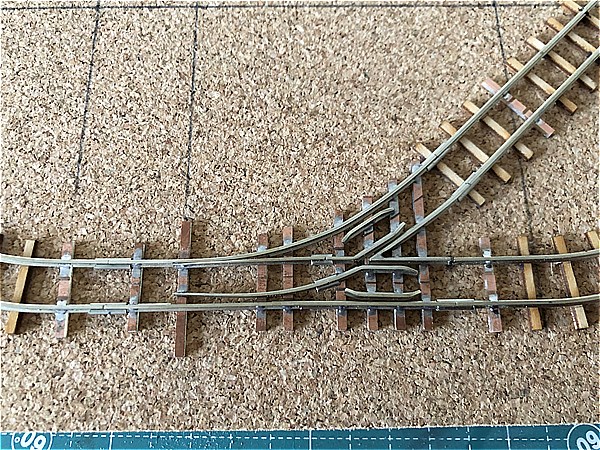
Self-made turnout used in this project
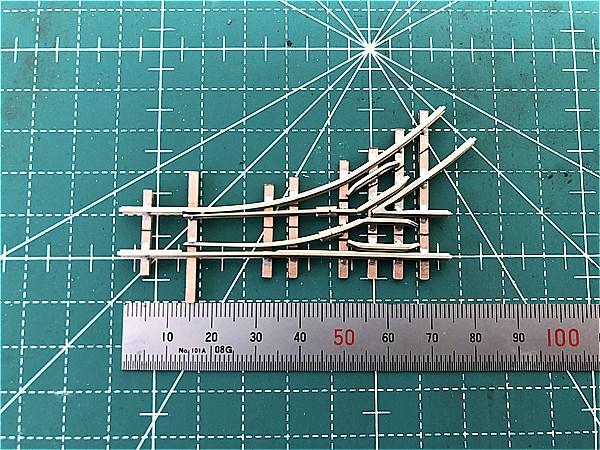
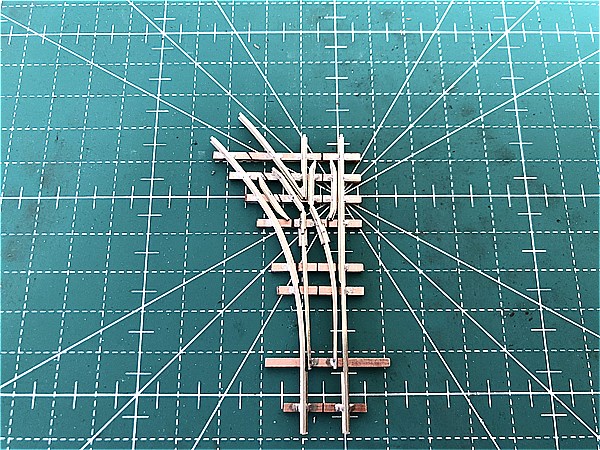
length:approx. 75mm
Radius :approx. 80mm
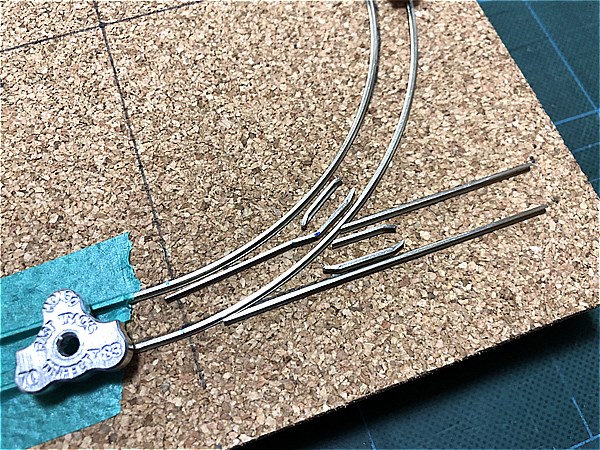
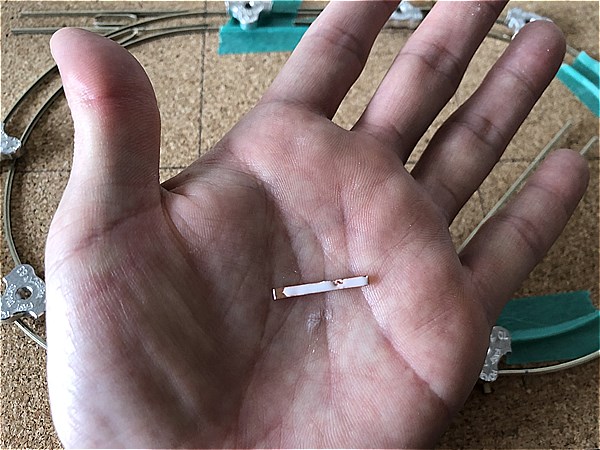
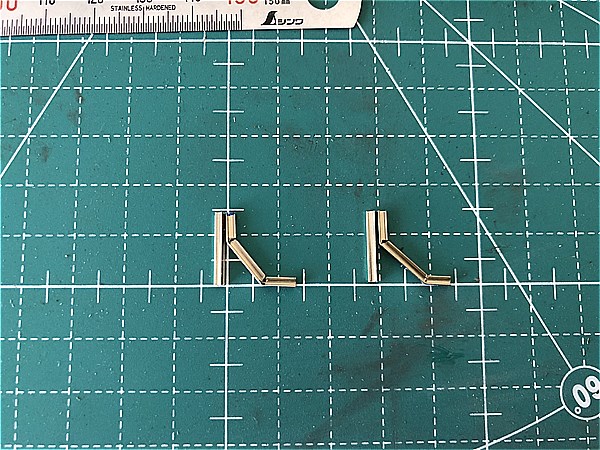
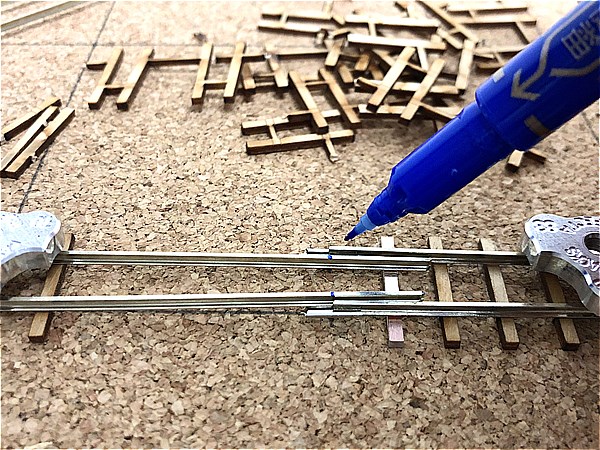
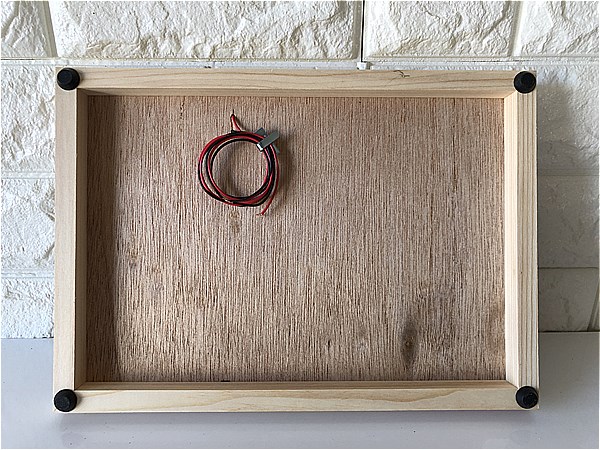
2. Solder the feeder wire to the joiner
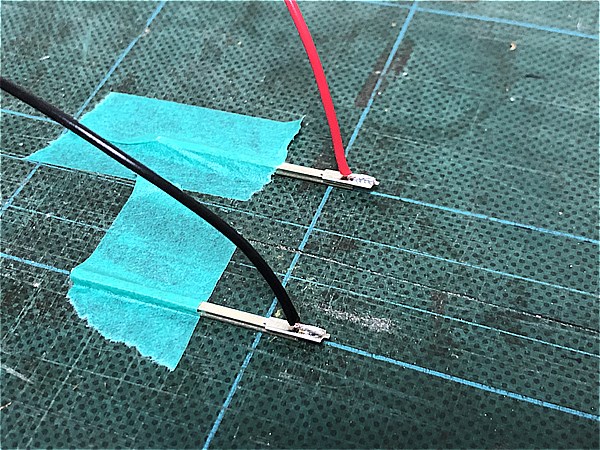
Solder the feeder wire to the back of the joiner.
The feeder wire will not be noticeable and will be finished neatly.
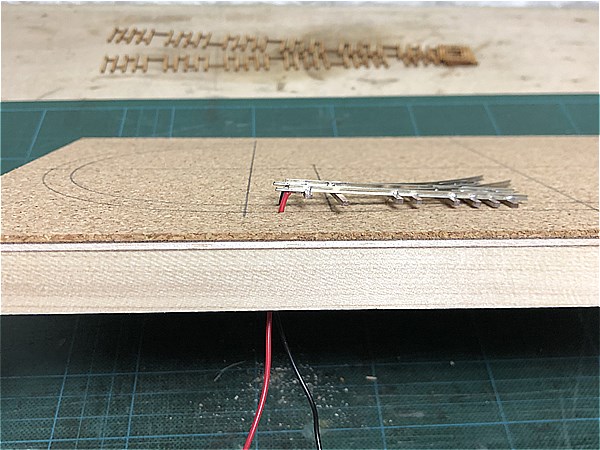
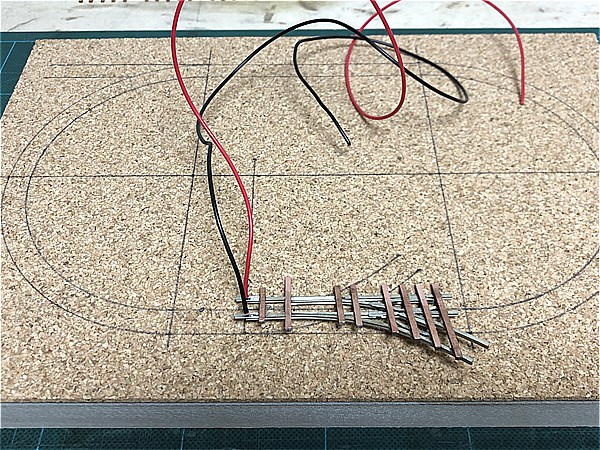
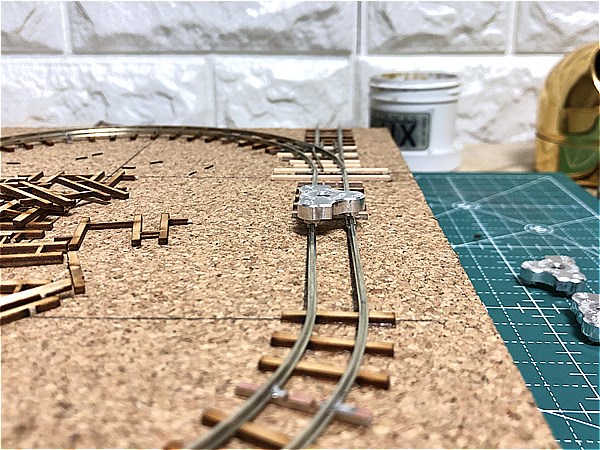
Connect the joiner with the feeder wire soldered to the turnout.
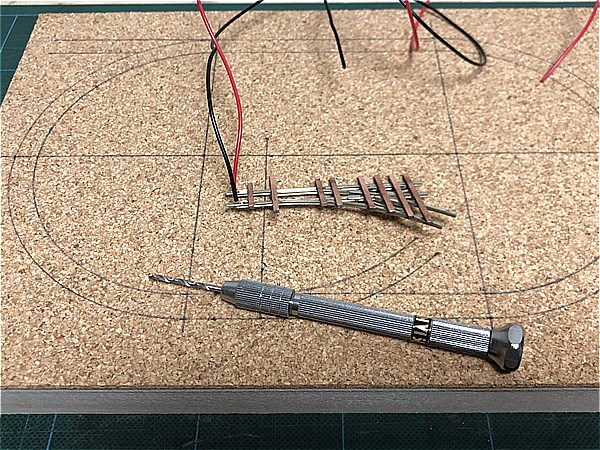
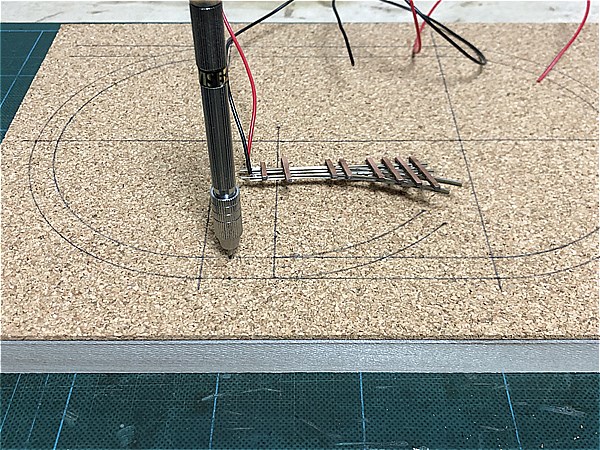
Drill a hole in the base board with a pin vise (1mm) and run the feeder wire under the board.
3. Bend the tracks with the Rail Roller
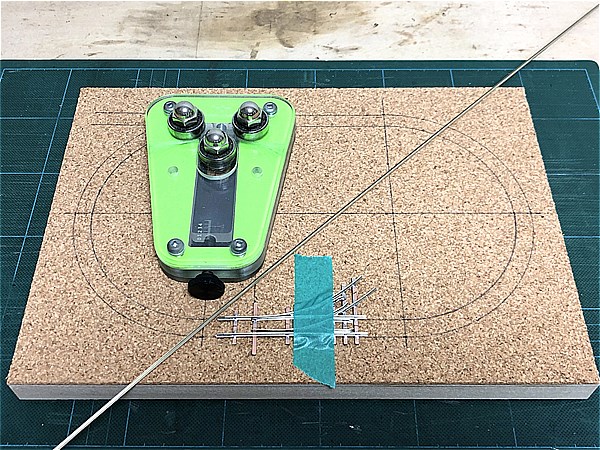
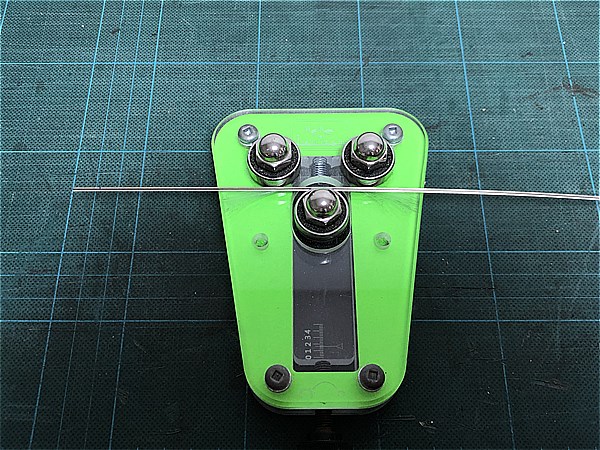
Fast Tracks' Rail Roller is indispensable for making small layouts.
It is compatible with code 40-148, and has a minimum radius of 3.81cm (1.5")!
The best way to use it is not to try to bend it all at once, but to adjust it little by little.

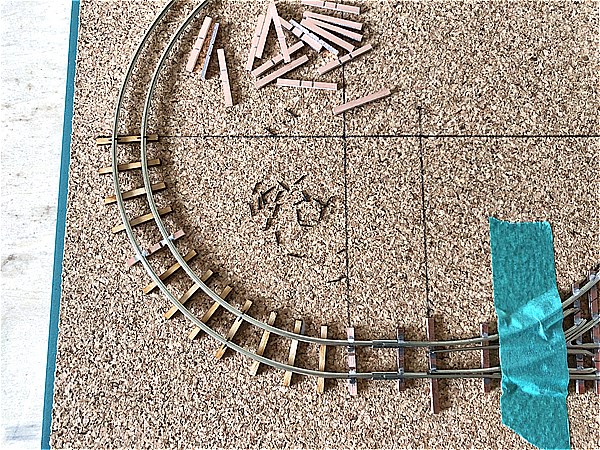
Bend each track in half-circle sections.
Make the side track sections and dummy turnout as well.
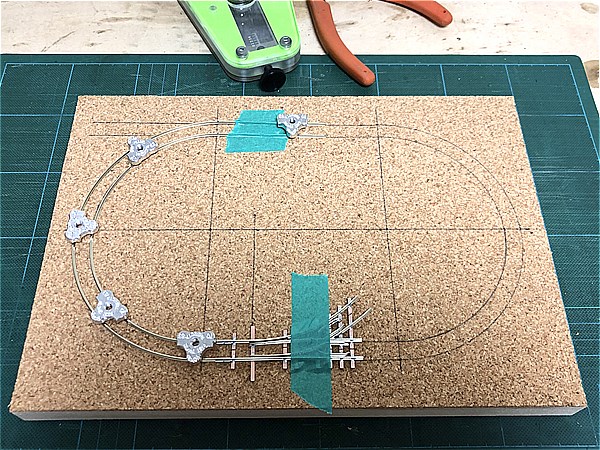
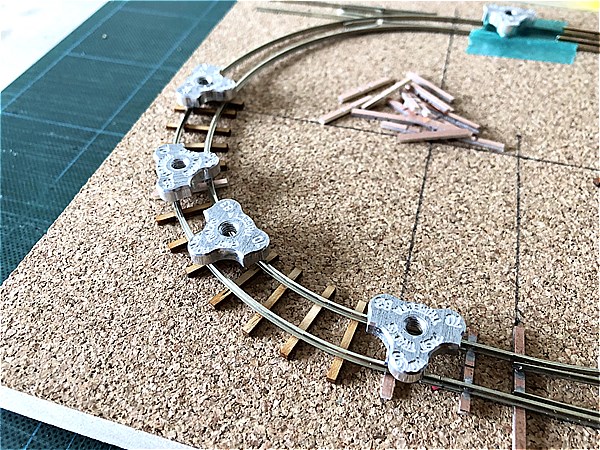
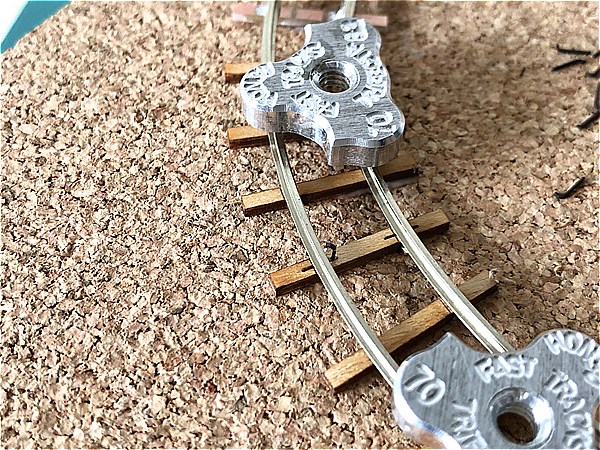
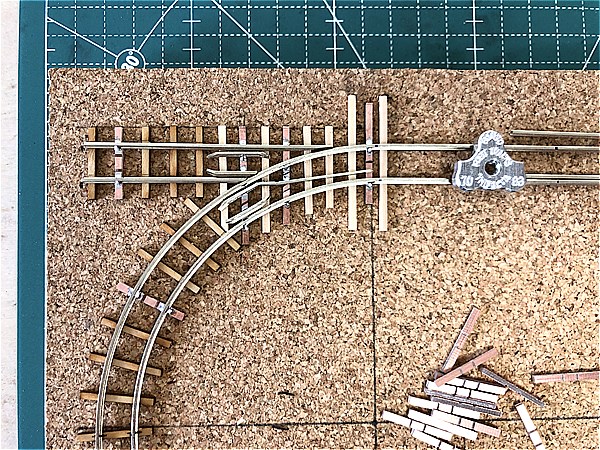
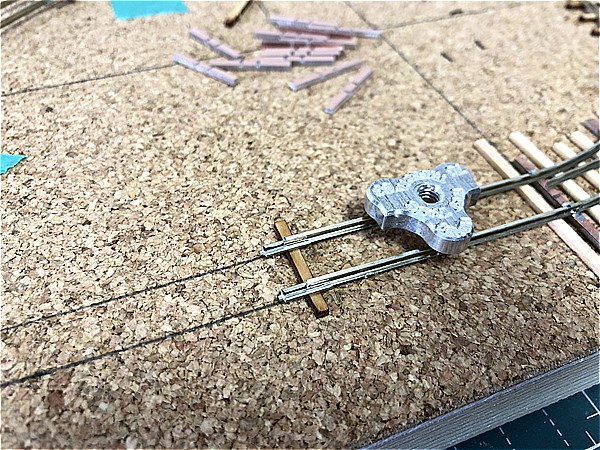
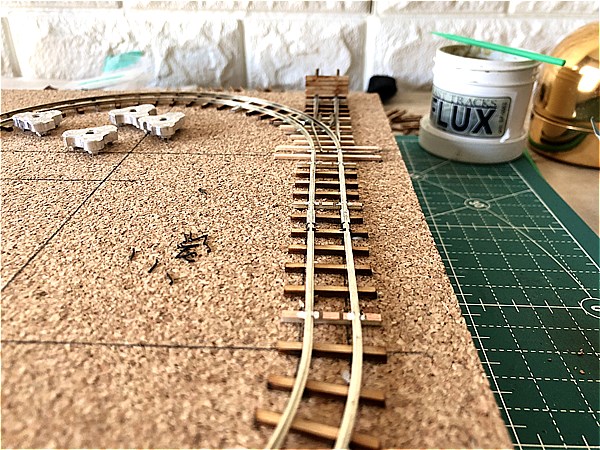
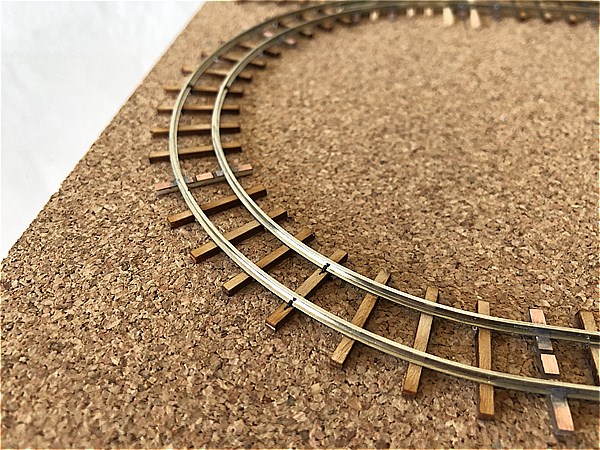
4. Glue the sleepers to the base board and fix the tracks
Don't glue all the sleepers at once, but separate them by a quarter circle and glue each one.
Fix the tracks with spike or solder at intervals of three sleepers.
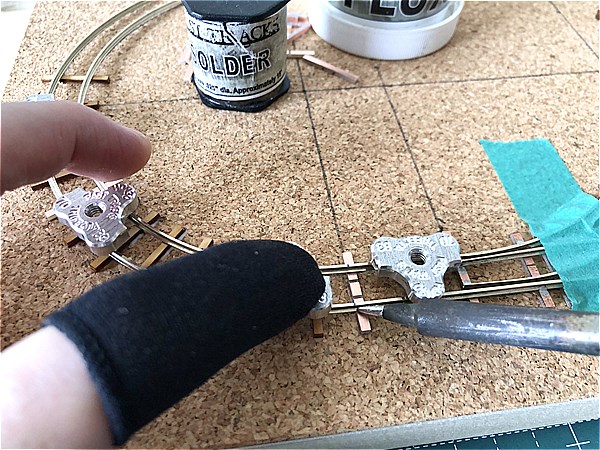
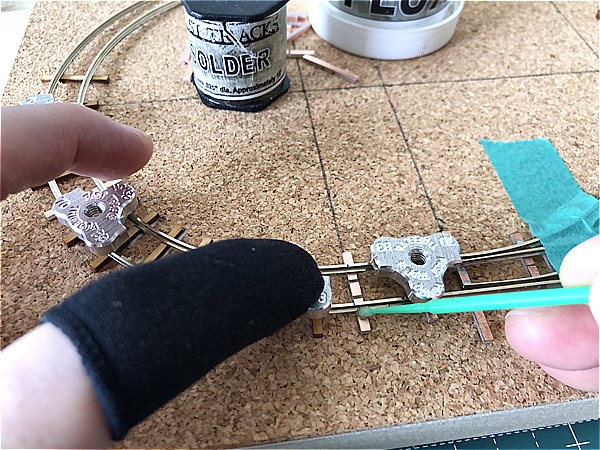

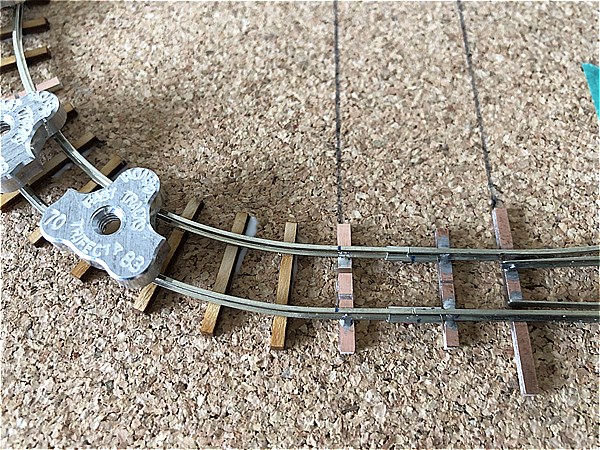
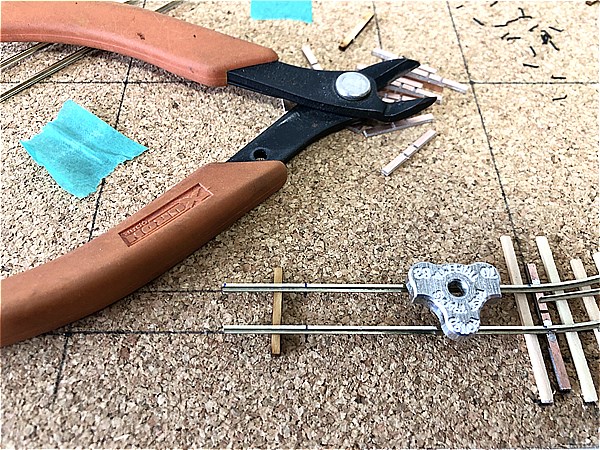
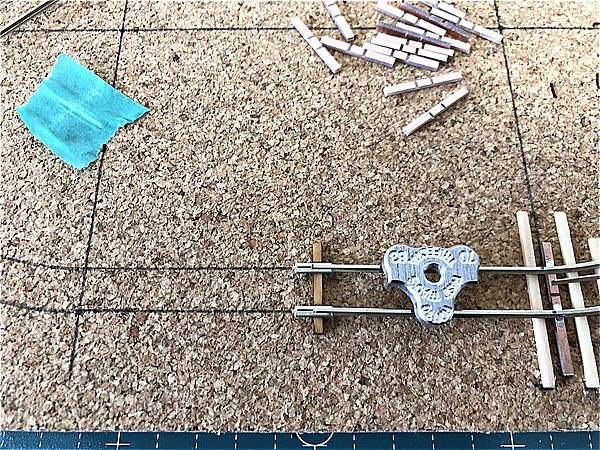
We always use a track gauge when laying track.
By using three or more track gauges, we can lay with a more accurate gauge.
Checkpoint
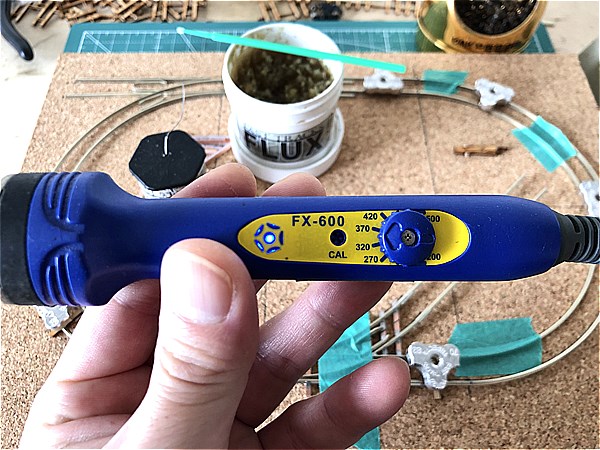
It is important to set the temperature of the Soldering iron below 360℃(680℉).
If the temperature is set above 360℃(680℉), the tip of the Soldering iron will be easily oxidized.
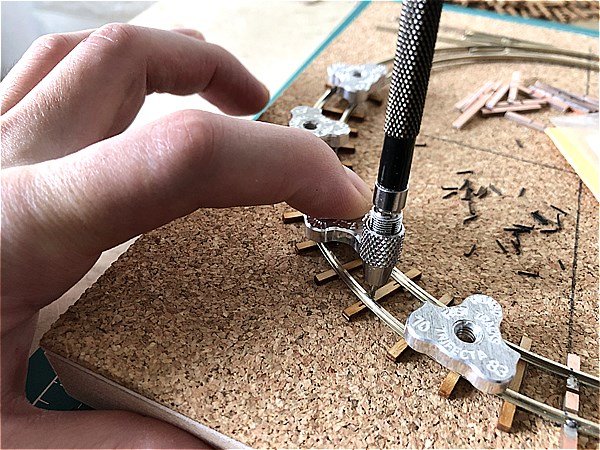
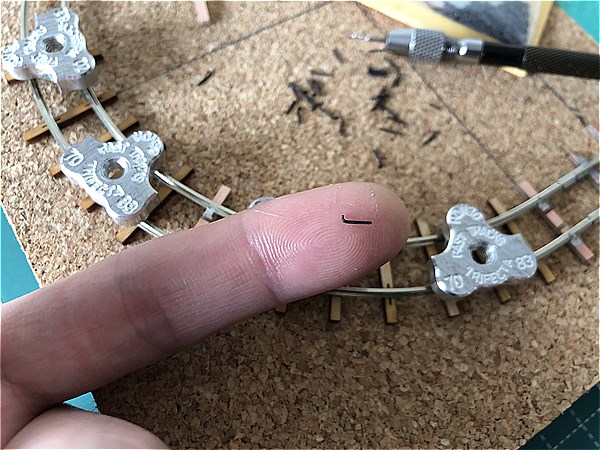
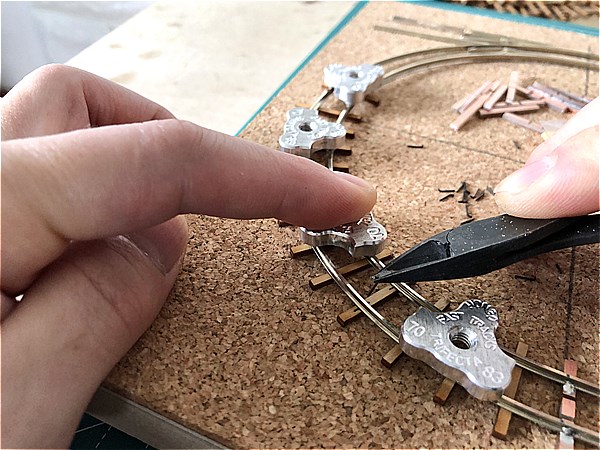
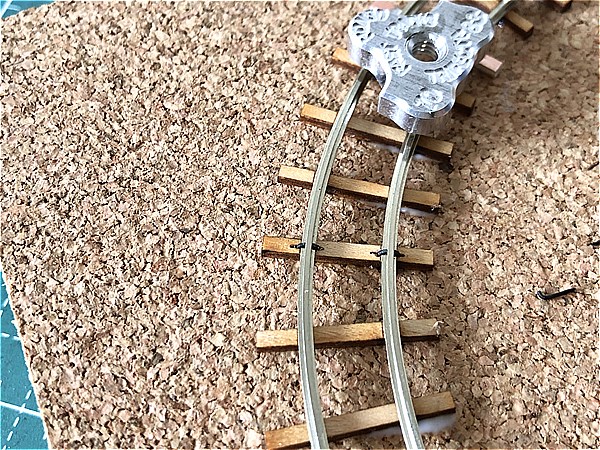
Use a pin vise (0.5mm) to make a pre-drilled hole in the sleeper and insert the micro spike.
When spiking, do not remove the track gauges and keep the gauge accurate.
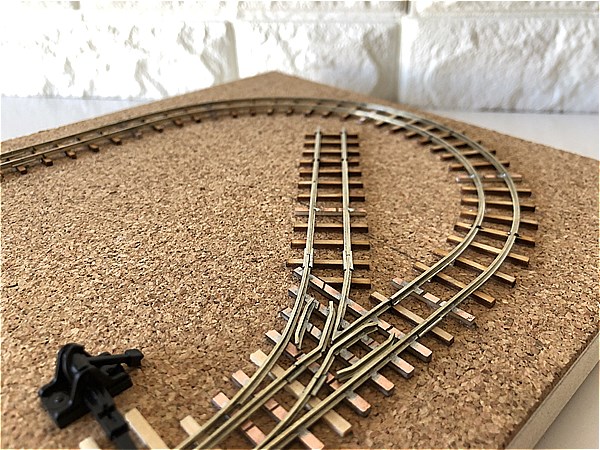
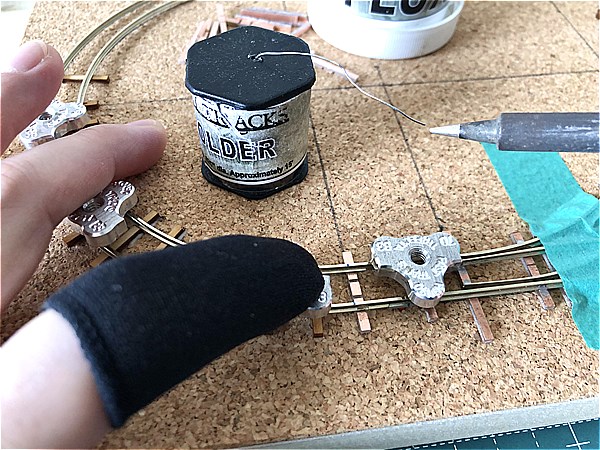
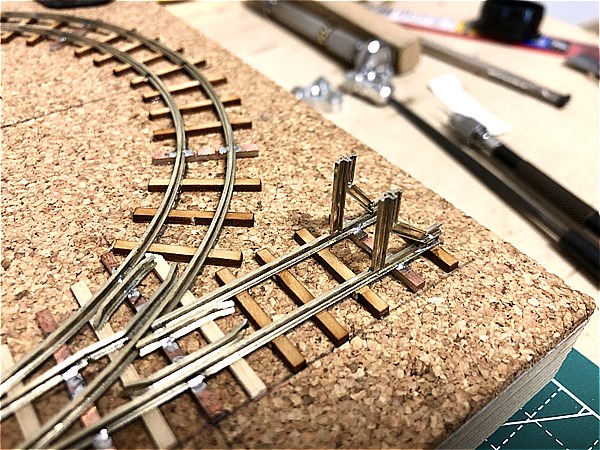
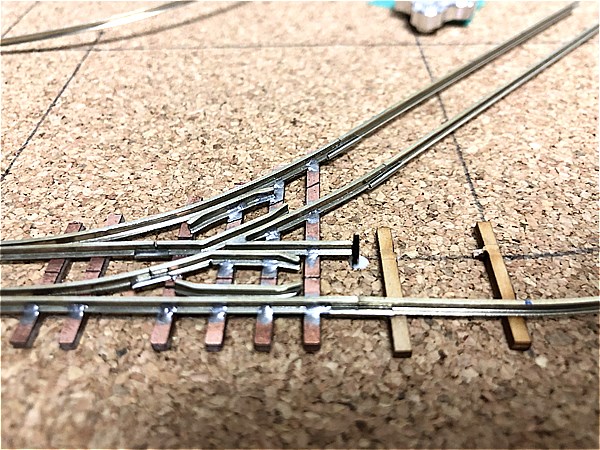
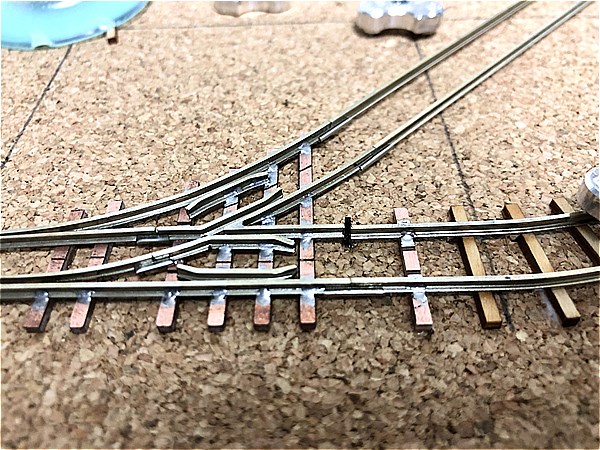
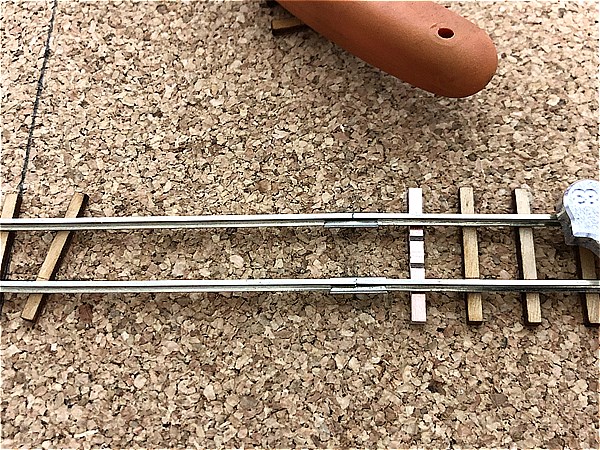
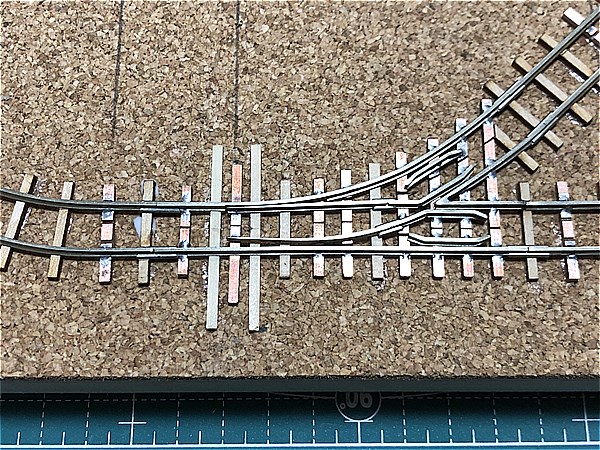
I also added sleepers to the dummy turnout and soldered the tracks in place.
Don't forget to put gaps in the PC Board Turnout Ties.
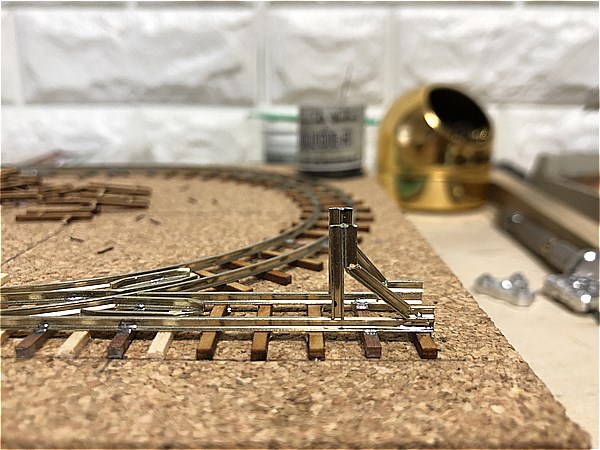
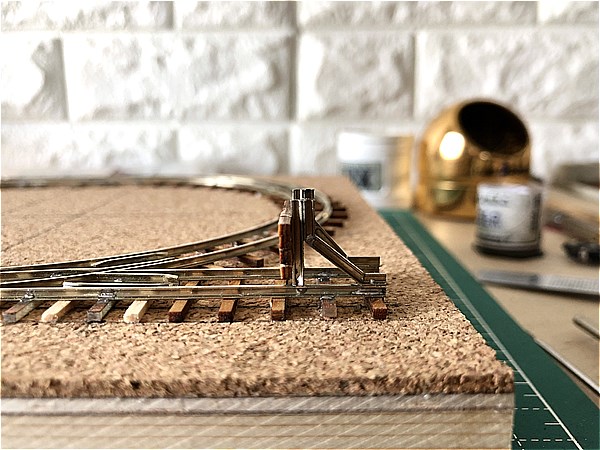
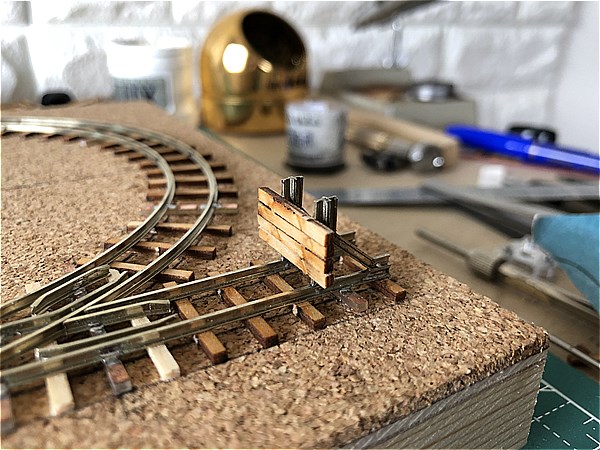
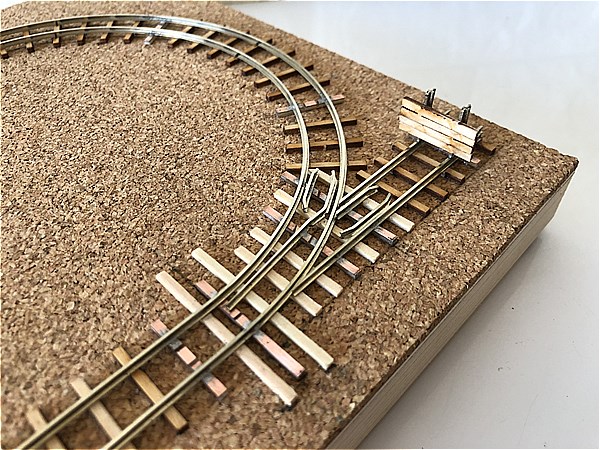
At the end of the dummy turnout, I made a buffer stop using leftover tracks and sleepers.
The buffer stop is fixed with solder.
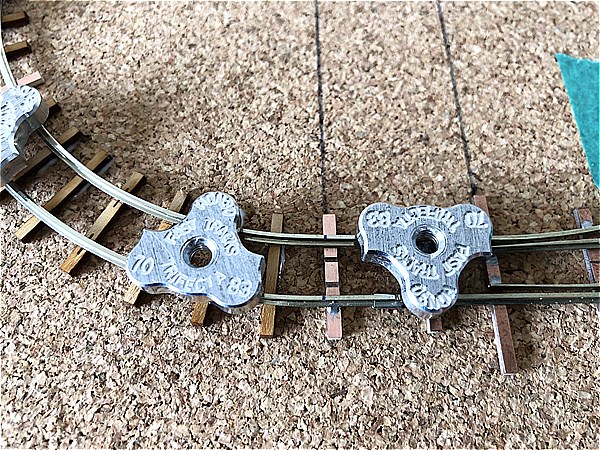
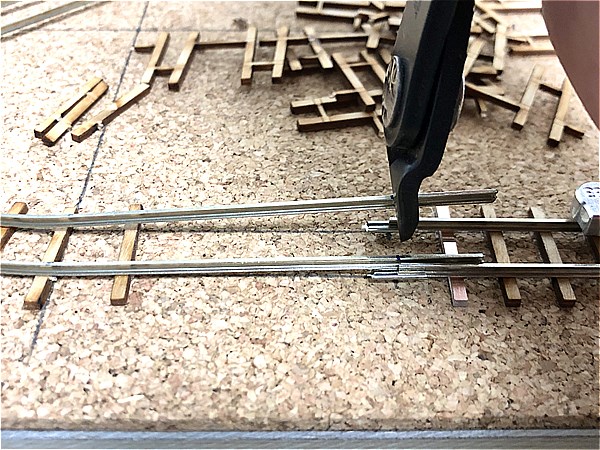
Cut the track at the center of the front of the other side and install the joiner.
We recommend the XURON Track Cutter for its excellent sharpness and durability.
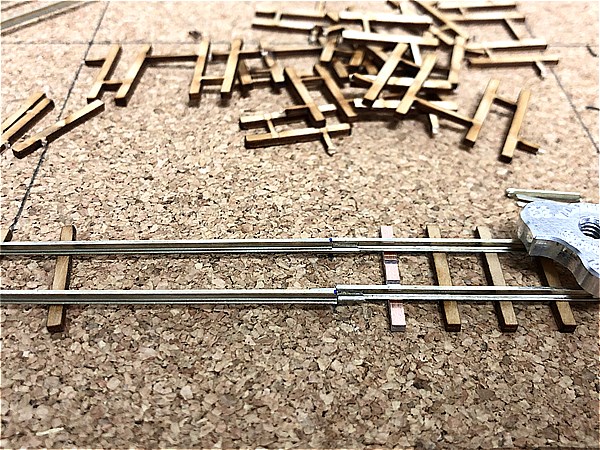
The last step is to glue the sleepers and fix the track at the connection.


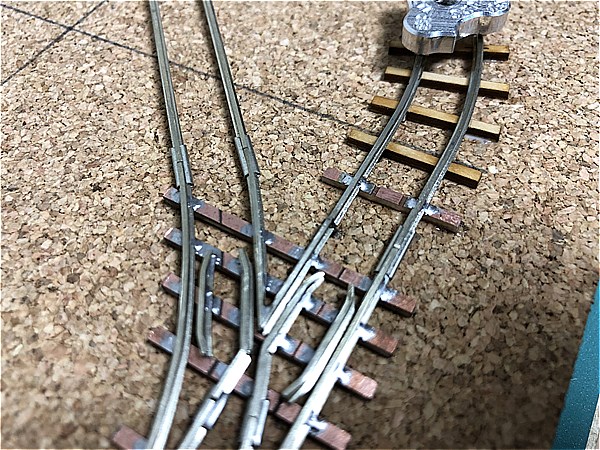
The next step is to lay the tracks on the right side of the image. For the inner track on the right side, I used FastTracks stop gaps.
This is because our self-made turnout are electrofrog, and if they are not, they will short out when the turnouts are switched.
Cut the track to exactly the right length, being careful not to leave any gaps.
We also added sleepers to the side lines to secure the tracks.
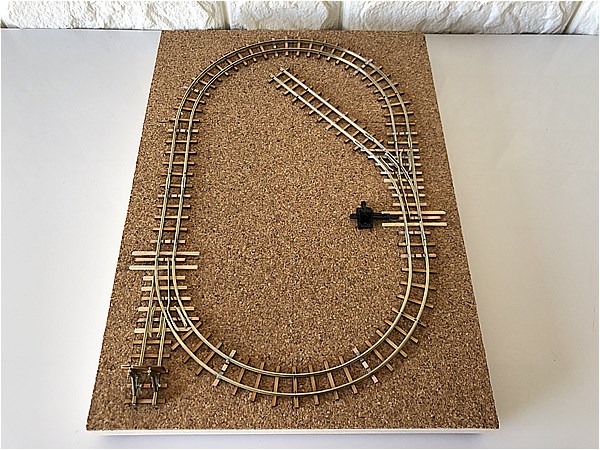
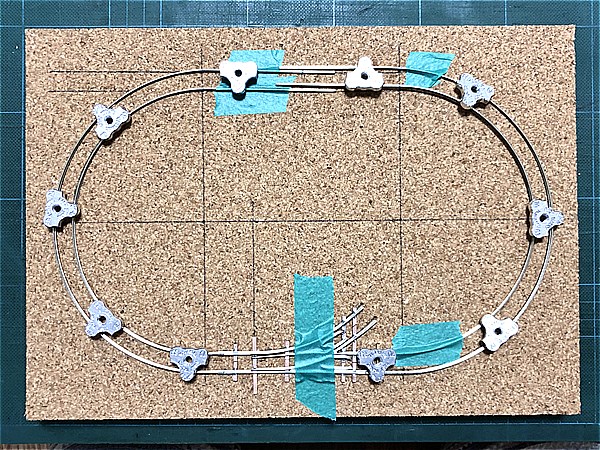
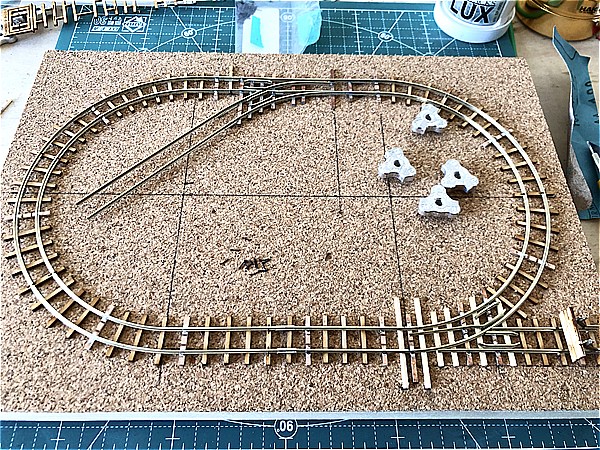
This completes the laying of the track.
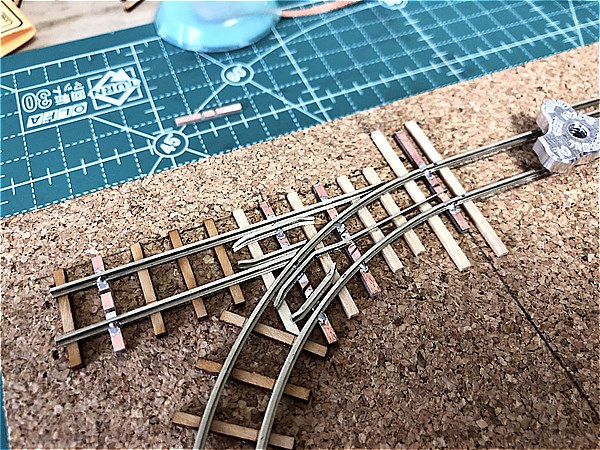
The sleepers have also been added to the self-made turnout.
The only thing left to do is to install a turnout switch.
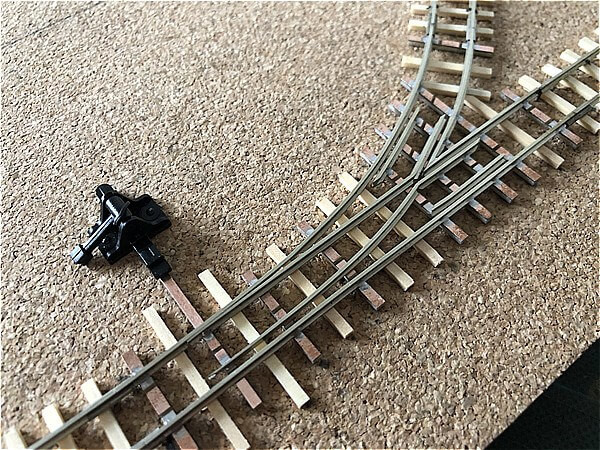
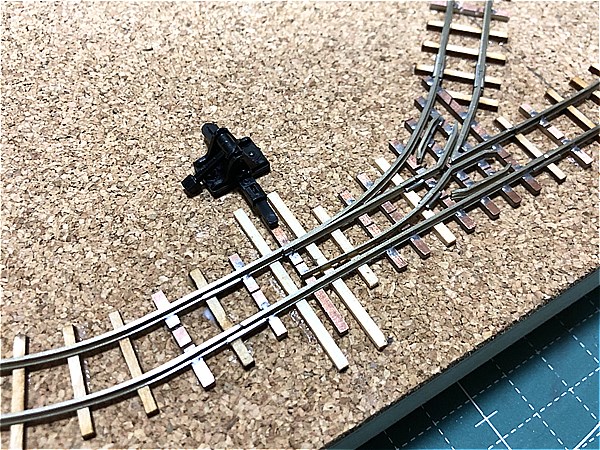
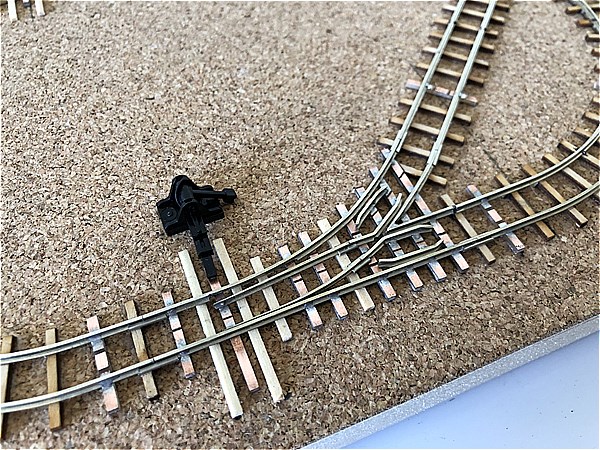
5. Installing the turnout switch
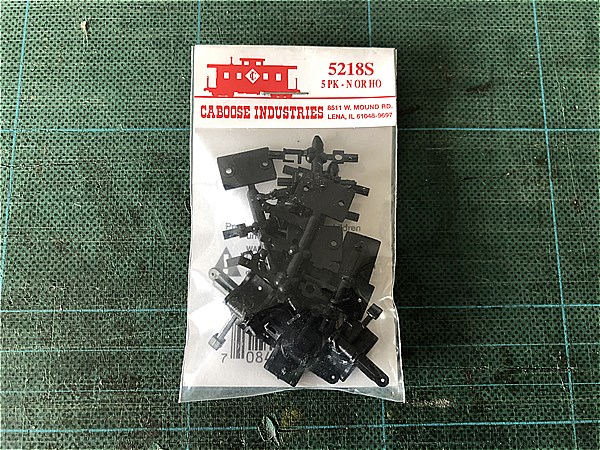

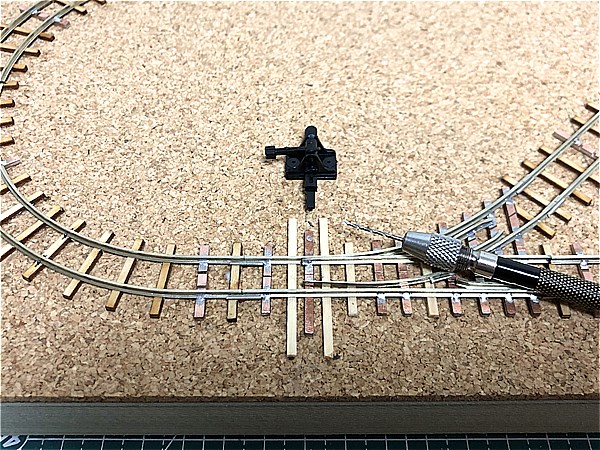
I used Caboose Industries 5218S Sprung, .165" travel for HO and N scale.
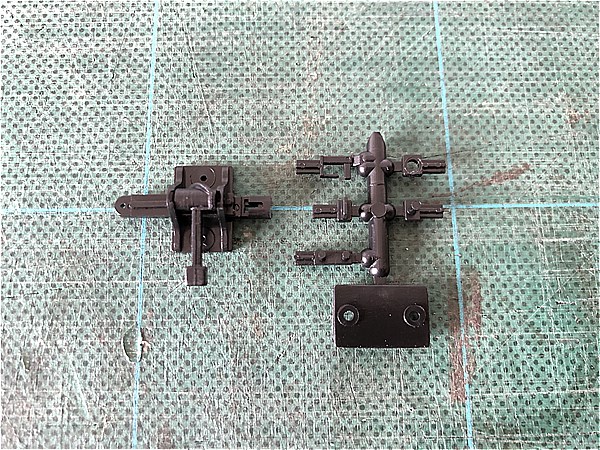
It is available in both N and HO scales and comes with connectors and spacers for a variety of flexible tracks.
The track I used this time is not flexible track, so I drilled holes in the PC Board Tie and used a Pin type connector.
HOe micro layout baseboard with self-made turnout is complete
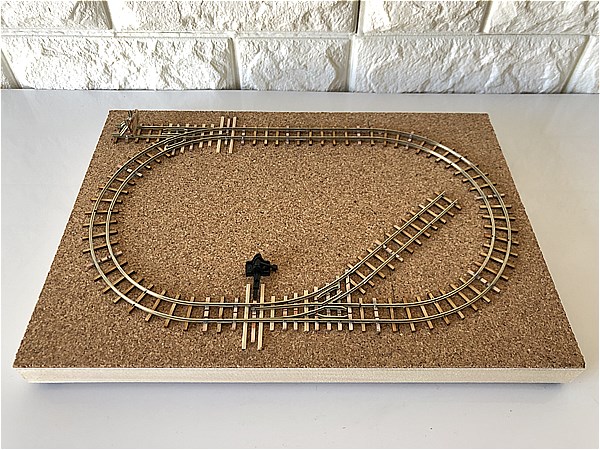
The micro layout baseboard shown here will be available on eBay.
Please stay tuned for more how-to's and fun products.
Read our introductory article!
-
Narrow Gauge Shop in Japan, with a passion for handmade products!!
Contact us
Please feel free to let us know what you would like us to sell!!
Narrow Gauge Shop
Satoru Mimura
1-15-27,Negishi,Machida,
Tokyo,JAPAN 194-0038
E-mail narrow_gauge_shop@ae.auone-net.jp
https://www.youtube.com/c/narrowgaugeshop
https://www.pinterest.jp/narrowgaugeshop/
We're very active on YouTube and Pinterest, so we'd love it if you'd subscribe to our channel (follow us) and hit the good button.